Ooey-Gooey Cheesy Garlic Chicken Wraps – Air Frying Made Delicious!
Introduction
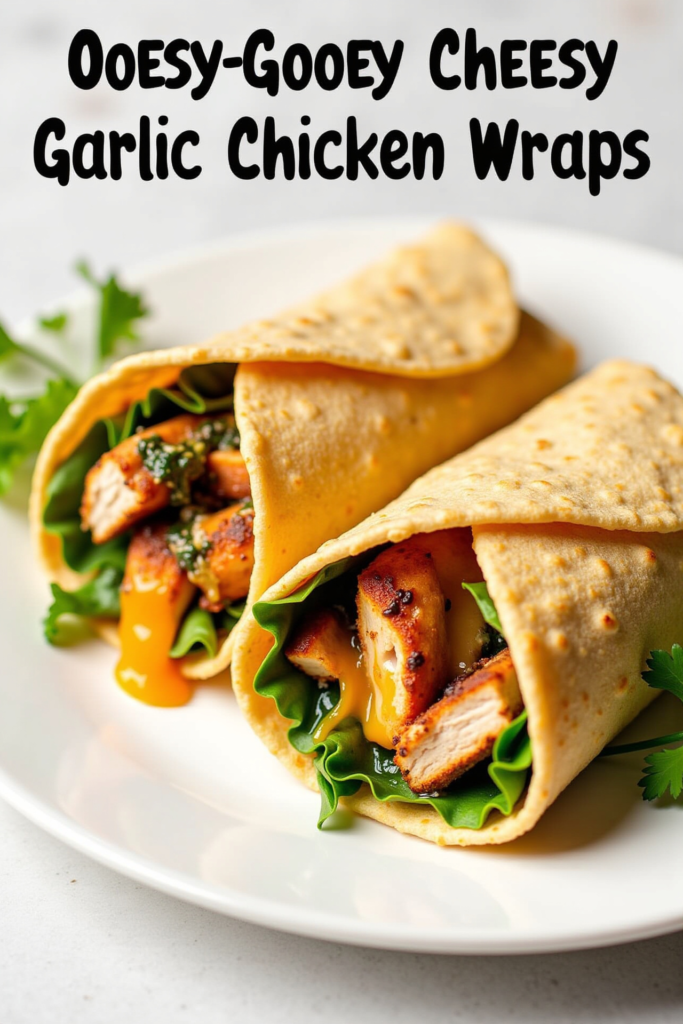
Looking for a meal that captures irresistible cheesy goodness, bold garlic flavor, and juicy chicken in every bite—all with the convenience and added crispiness of air frying? These Ooey-Gooey Cheesy Garlic Chicken Wraps are your answer! Not only do they come together quickly, but their molten cheese and golden wraps are an instant favorite for family dinners or casual gatherings.
Why Ooey-Gooey Cheesy Garlic Chicken Wraps Stand Out
Cheesy garlic chicken wraps are a classic comfort food made modern with the air fryer. The cheese melts perfectly, the chicken stays incredibly juicy, and the exterior turns crunchy and golden without the need for excessive oil. Each bite delivers savory garlic, melty cheese, and tender chicken—making these wraps perfect for weeknight dinners or fun parties.
The Secret to the Cheesy Garlic Filling
For ultimate ooey-gooeyness, a blend of mozzarella and cheddar is paired with cooked, shredded chicken and a generous helping of garlic. A little cream cheese keeps everything moist and tangy. Fresh herbs like parsley or basil add a finishing touch of brightness. By mixing the filling ahead and letting it sit for a few minutes, the flavors meld to create an irresistibly creamy texture.
Assembling and Air-Frying the Perfect Wrap
Spread a generous layer of cheesy garlic chicken filling onto each tortilla before rolling them up tightly. Lightly brushing or spraying the wraps with a touch of oil before air frying ensures a golden, crispy exterior that shatters delightfully with every bite. Air frying brings convenience and a healthier crunch without sacrificing any flavor or texture.
Serving Suggestions for a Crowd-Pleasing Meal
Serve your wraps hot, fresh from the air fryer, with a side of zesty marinara, ranch, or garlic dip for dunking. Add a crisp green salad, roasted veggies, or seasoned fries on the side for a complete meal. These wraps also make a delicious appetizer when sliced into bite-sized rounds for sharing.
Nutritional Information and Serving Size
This recipe makes approximately 4 wraps, each packed with protein and flavorful cheese. Each wrap has about 400–450 calories, depending on tortilla and cheese choices—offering a nourishing, filling, and kid-friendly main dish.
Ooey-Gooey Cheesy Garlic Chicken Wraps – Recap
With their perfect combo of juicy chicken, two cheeses, fragrant garlic, and a crisped wrap exterior, these air-fried wraps bring bold flavor and comforting texture to your table—sure to disappear fast at any gathering!
Ingredients
💡Meal Planning Tip: Save this recipe to automatically generate an organized shopping list with all ingredients sorted by store section perfect for efficient grocery trips and meal planning.

Instructions
- In a large bowl, combine shredded chicken, mozzarella, cheddar, cream cheese, minced garlic, garlic powder, parsley, salt, and pepper. Mix until everything is thoroughly combined and creamy.
- Lay out each tortilla and evenly divide the filling among them, spreading it across the center of each tortilla.
- Roll each wrap up tightly, folding in the sides to secure the filling.
- Preheat your air fryer to 375°F (190°C) for 2–3 minutes.
- Lightly brush or spray the wraps with olive oil or cooking spray.
- Arrange the wraps seam-side-down in the air fryer basket (work in batches if needed), making sure they are not touching.
- Air fry for 6–8 minutes, turning halfway through, until the wraps are golden brown and crispy on all sides and the cheese is ooey-gooey inside.
- Let cool for a couple of minutes before serving. Slice and serve with your favorite dipping sauce.
Weekly Meal Planning
This recipe fits seamlessly into any weekly meal plan. Save and schedule this recipe to coordinate which nights you’ll enjoy it, and seamlessly combine ingredient needs across your weekly menus.
Planning Benefits:
– Instantly calculates your total ingredient quantities across all recipes
– Shopping list organizes everything by grocery section
– Avoids duplicate purchases and forgotten ingredients
– Makes meal prep smarter and more efficient
Pro tip: When meal planning, schedule your dinners and lunches together to see overlaps in staples—ensuring less food waste and fewer trips to the store.
Cook and Prep Times
Prep Time: 15 minutes
Cook Time: 8 minutes
Total Time: 23 minutes